This section contains tutorials on how to set up and manage your Public website (also known as the Go site).
Tutorial for: System Administrators, Online Marketing team
More support is in ASAP 4 Guides and Online Registration Site (GO)
On this page:
-
Public Site Behavior
-
Customizing Content and Branding
-
Opening Online Class Enrollment
-
Public Site and Student Account
Click the title to go to an article. Double click the video to view in full size.
Public Site Behavior
Preferences
Here you can set up what will appear on your public site and how the site will behave.
5m 23s
- Program Navigation is optional and if this is No, your Course Groups will appear in the left nav menu
- Online reg security setting - this determines the complexity of the password
- Classes offered for:
- Children - the registration form will automatically for parent/guardian info
- Adults - the registration for will NOT ask for parent/guardian info
- Both - the user will be asked if they're registering themselves or a child
- Hard stop - for both these settings, if Yes the user will be prevented from enrolling. If No, the user will see an alert saying they are out of the Age or Grade parameters but they will be able to complete their enrollment. ASAP recommends only using ONE of these settings at a time.
- Share Staff Contact Info - by default this is set to No. If set to Yes, this staff member will appear on the Faculty page of your public site.
- Allow creation of additional family members - set this to YES if you have multiple family members sharing an account
- Allow customers to edit - set this to YES to allow students to change their contact info on their accounts
- Add Google Translate widget - begin typing to select the many languages we offer. This is brilliant!! You should do it :)
- Enforce student password reset - by default this is NO. When on, this allows you to set how often a student must reset their password.
- Course Sort Order - this allows you to switch the Course order on your website from Alphabetical (by default) to Chronological (soonest first).
Customizing content and branding
7m 27s
This section requires some knowledge of HTML and CSS. Please contact support@asapconnected.com for any help. We are very happy to help.
CSS Templates
This allows you to manage the look and feel of your website.
- Select the Go Site Template
- The bolded item is your live site template.
- If you wish to make a change, we recommend you copy your template first.
We recommend you only edit this CSS content if you are fully trained in working in CSS and html. Contact Support for any help.
- You can edit your website headers in the Edit Your Site Header HTML section. Here, you can also add links to external websites, as well as other pages on the ASAP Public site.

Homepage
- Click the pencil icon to create your Homepage content
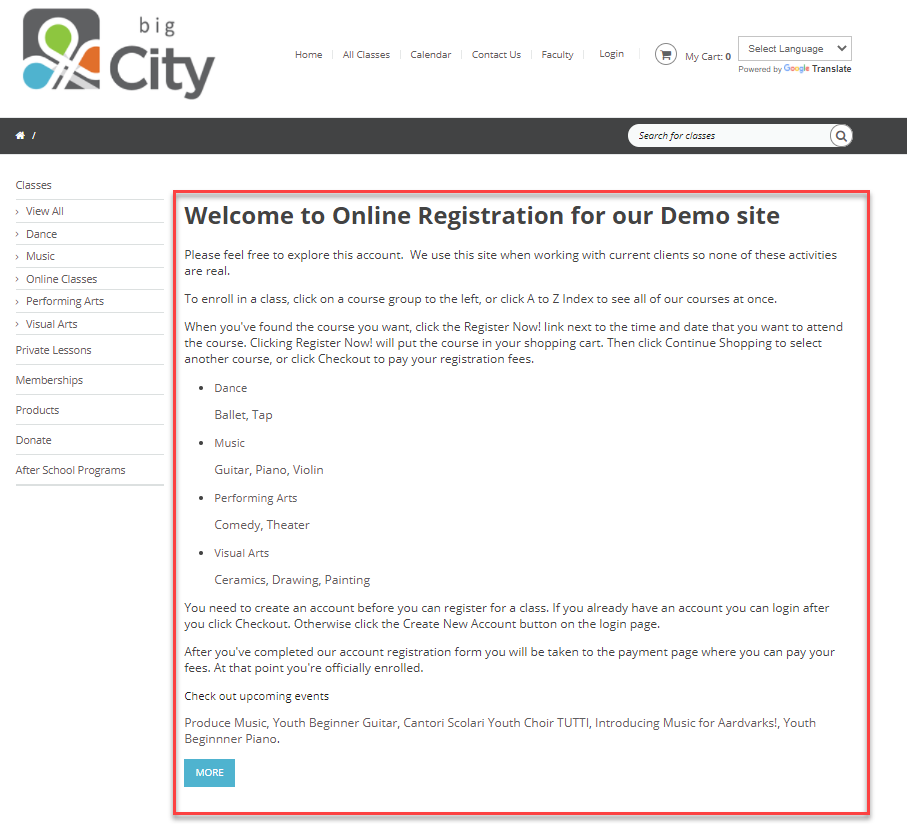
Messages
- Add a message to the header or footer of Go site pages.
FAQ
- If you'd like to have an FAQ page in your header links, enter content in this section. You will need to add the FAQ link so either send a request to support or:
- Go to CSS Templates
- Select your Go Site Template and click edit on the Bolded item
- Scroll down to the Edit Your Site Header HTML section.
- Enter this text "<li><a href="/">FAQs</a></li>" between other tags to have it appear on your public site.
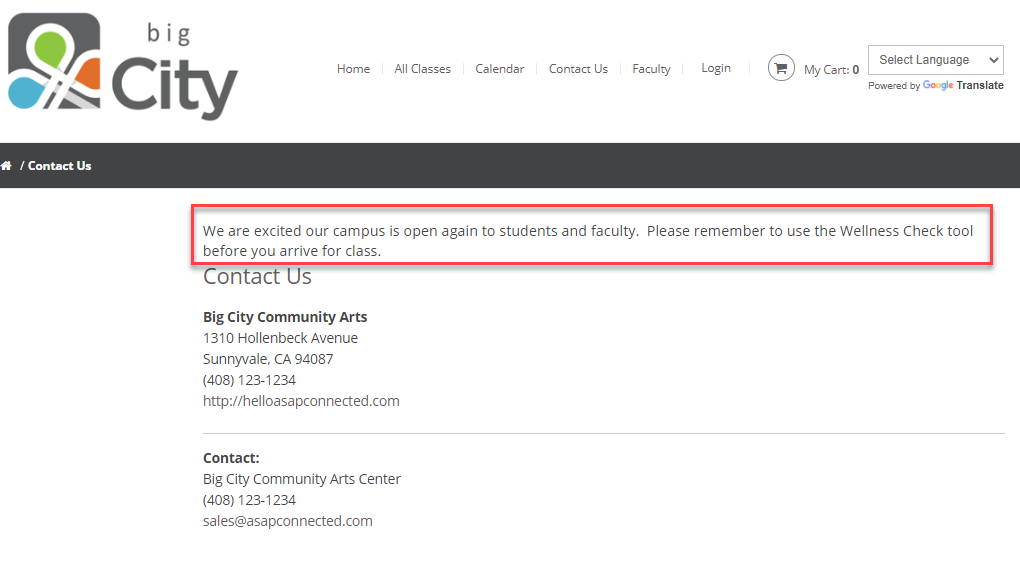
Contact Us
- This is content on your Contact Us page.
- Sites - to edit select from your list of Sites
- Contact person - enter directly.
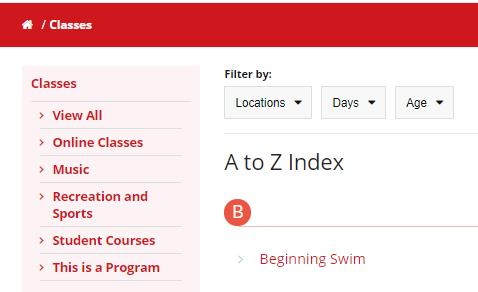
Filters
- Select the filters your student could use to search for a class. These filters appear on the View All and Course Group pages
Class Grid
- Select which fields to show in your classes.
- Section and Details both link to the same Class detail page showing individual class meeting dates.

Opening Online Enrollment
This video explains how to schedule your classes for online enrollment.
2m 25s
Understanding your Public Site and Student Account
This video explains how all the steps above come together in your public site and delves into the student's Online Account tools.
7m 07s