The Products Module is a separate element that you can add on to your standard ASAP package. It allows you to manage shipping, collect sales tax, and have another method to generate income for your organization.
After you have added the Products Module, do the following to create Products.
Create Categories
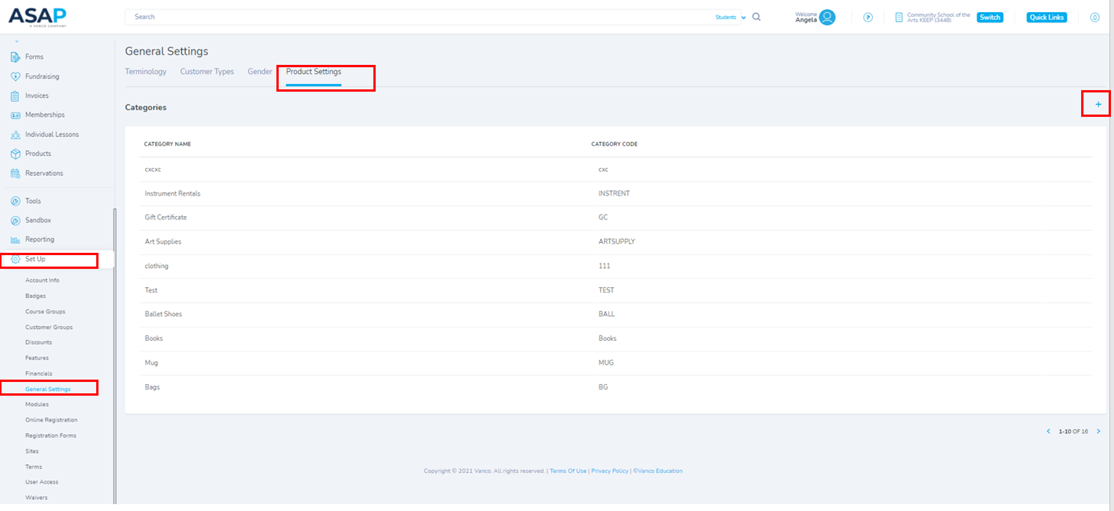
To get started, you will need to set up at least one category for your products (you can use the same category again for other products and/or you can continue to create new products categories). Categories are the groupings that your customers will use to navigate your products on your public page. To create a new category, you will need to:
- From the left-hand navigation, select Set Up
- Select General Settings
- Select Product Settings
- Click the + sign in the upper right to “Create New”
-
This will open a new window for the user to add a Category Name and a Category Code

- After you have filled in those two fields, click the green check mark to save or the red x to cancel.
You are now ready to create your new products!
Create a Product
- From the left-hand navigation, select Products
- Click the + sign in the upper right-hand corner
- A new page will open to create your new product
-
Fill in the information for your new product. The following fields are required:
- Category
- Product Number
- Product Name
- Price
-
Quantity
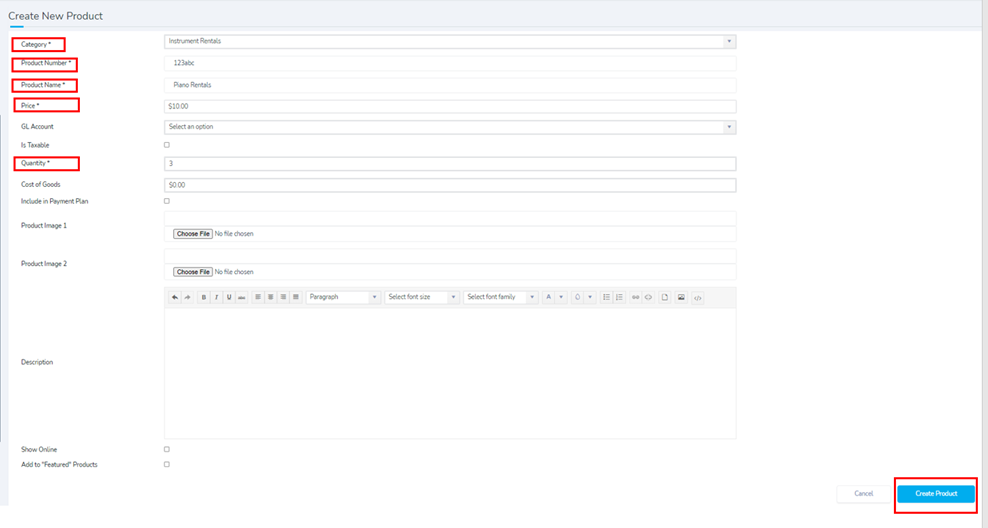
- Click Create Product button and your new product will be saved and will display in the Product listing page
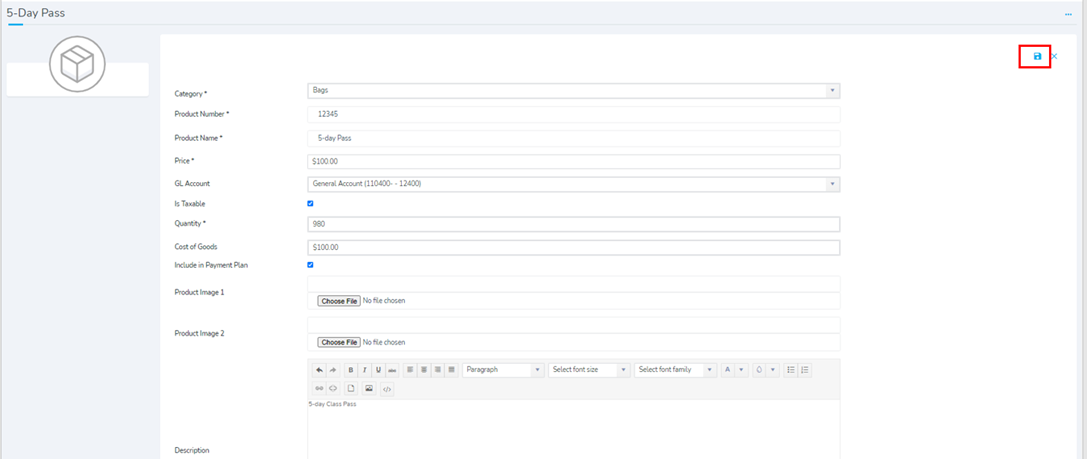
Editing a Product
- From the left-hand navigation, select Products
- Click the ellipsis at the end of the line of the product you wish to edit
- A new page will open allowing you to see all the details of the product
- Click the pencil in the upper right-hand corner to edit
- This will open the screen and allow the user to edit all fields
- Once you are done editing click the disc icon in the upper right-hand corner to save your changes