There may be times where you want to create or edit multiple classes at once.
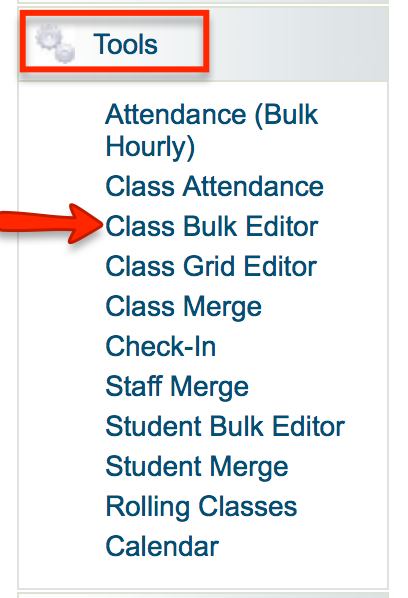
To do so, first go to Tools> Class Bulk Editor.
This will take you to the Rapid Class creating/editing page. From here you can select to either create new classes or edit existing classes. We'll start by creating new classes and then come back to editing existing classes.
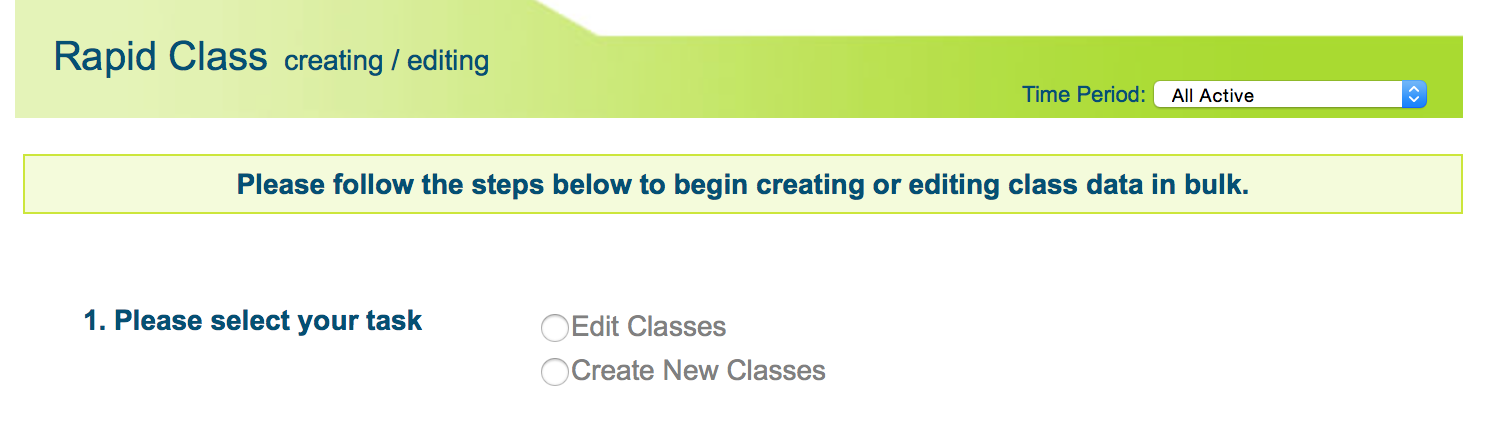
Select "Create New Classes." This will take you through a few pages of steps to enter basic information, starting with the Time period and Course you want these classes to be added to. You will then be asked to select the number of classes you want to create. Once you've reached this step, you will see a button named "create classes."
Once you click that button, you will be brought to the final page with separate tables for entering the specific information.
Each quick application table near the top of the screen can be filled out and added to all classes by selecting "fill down." You may leave any of these dropdown menus blank if you prefer to add specific information to individual classes rather than to all of them. The gray boxes you see represent each specific class.
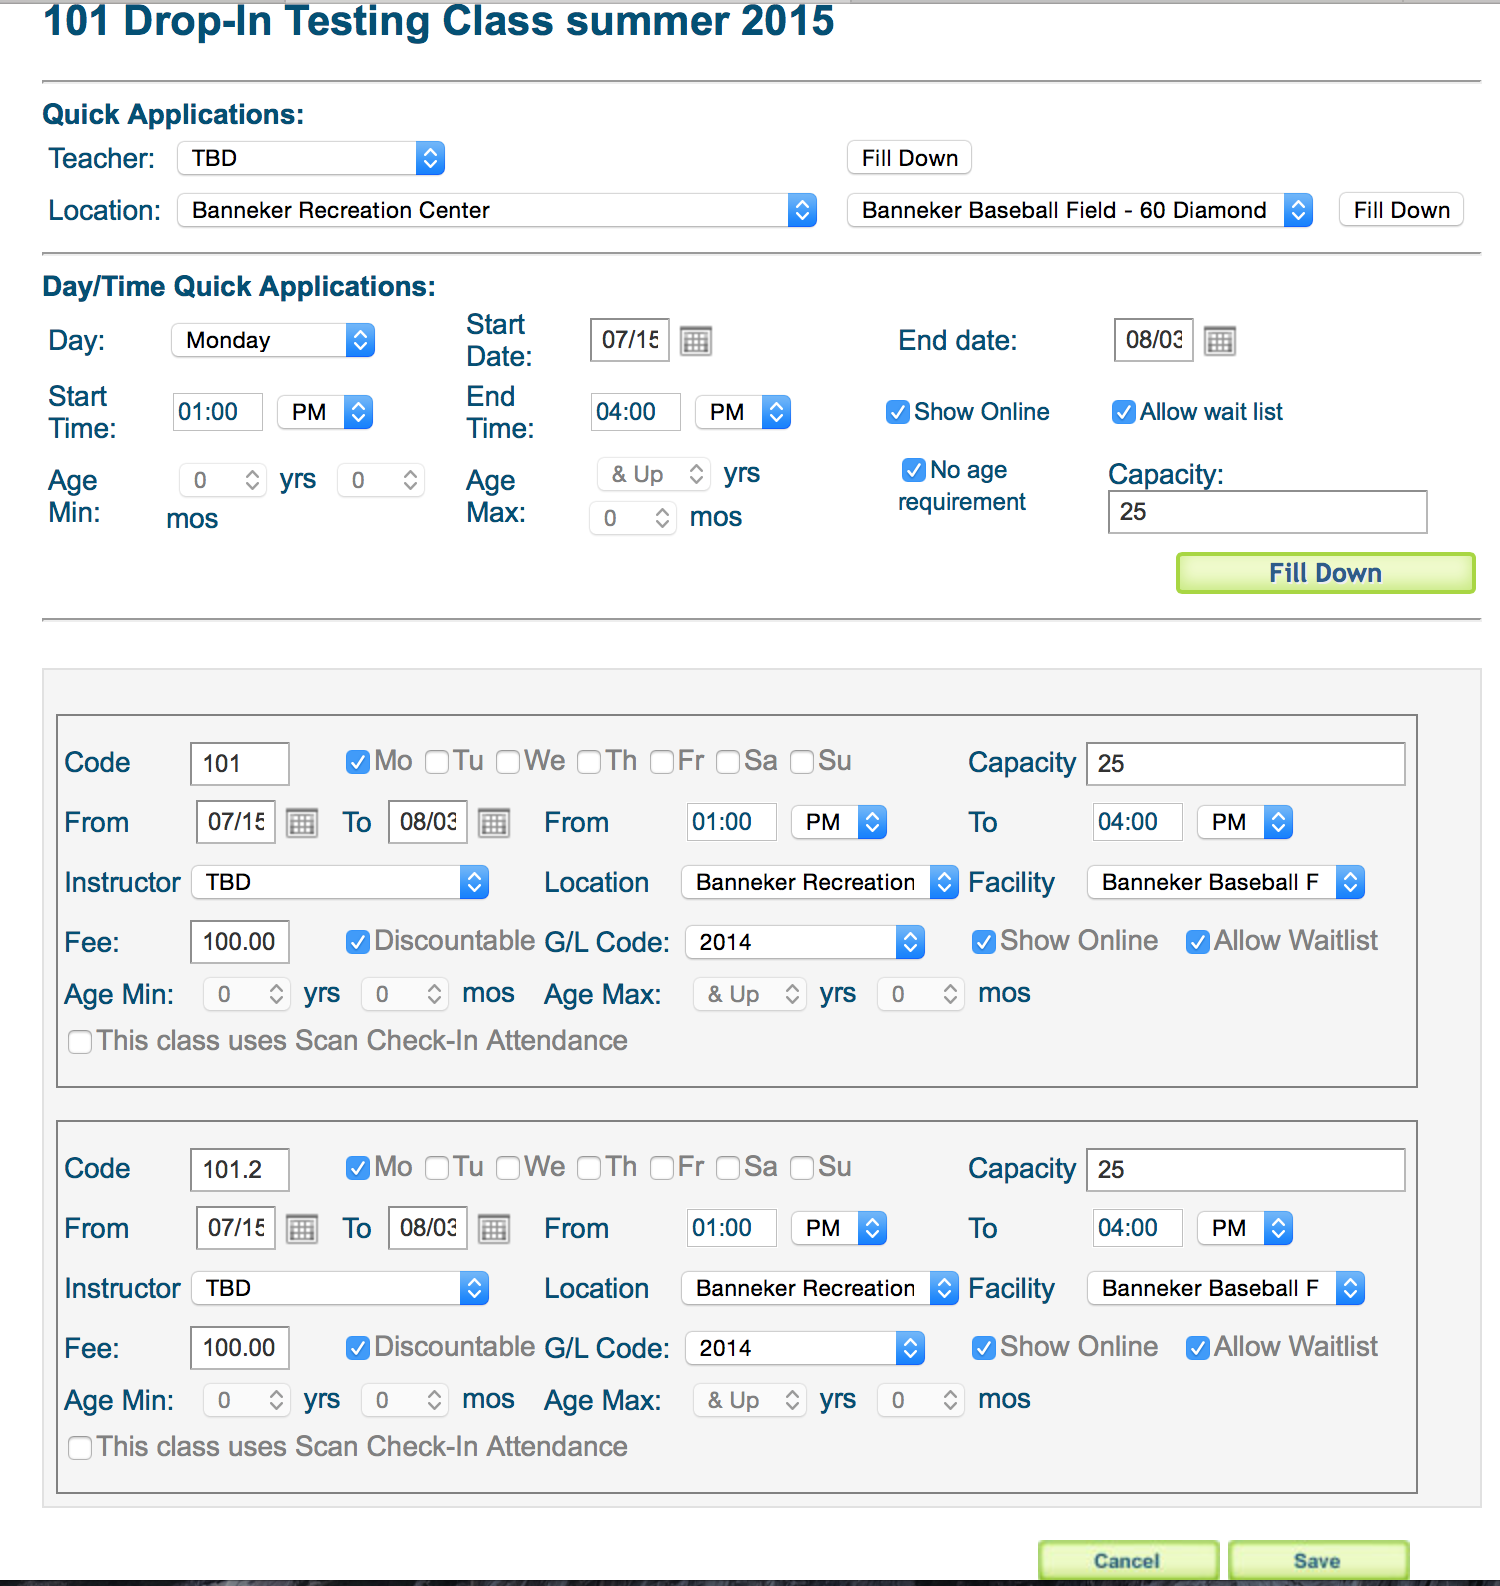
Notice the information in the first two tables under "Quick Applications" and "Day/Time Quick Applications" match the grey class boxes which represent the two new classes I chose to create. This is because I entered information in all dropdown menus and selected "Fill down" in each one. As previously mentioned, you may wish to have one class be featured Mondays while the other class be featured Tuesdays, for example, so may change these settings accordingly by leaving these dropdown menus blank in the quick application boxes and entering them manually in each separate grey class box.
Once you are satisfied with your changes, select "save."
To use the Class bulk editor tool to edit classes, go back to tools>class bulk editor and select "edit classes" rather than "create new classes."
Select the time period and course, and click "next."
It will note at the top in red how many classes it found that were included in this time period and course.
From here, the steps will be the same as they were to create new classes, except the information will already there, and you will simply change what you wish to change and leave the rest as is.