1. Generate invoices for enrollments
Once you have made all necessary modifications, you will now want to generate invoices for the lessons. To do this, you will select “Generate Invoices.” from the "I want to" dropdown menu on the enrollments page

2. Choose deposit amount and deadline.
Once the ‘Generate Invoices’ window is open, you have the option to enter a deposit payment deadline and a deposit amount if you want. This is OPTIONAL (as of May 2016), so you can choose to NOT enter a deposit payment deadline and deposit amount.
IMPORTANT NOTES:
- If you put in a deposit amount and a deposit payment deadline, the invoice for the lessons will be dated with the deadline date and there must be a payment made on the invoice for at least the amount of the deposit by that date.
- If there is no payment made by that deadline date, the invoice will be voided and the enrollment in the lessons cancelled between 2 am and 5 am the following day.
- The deposit amount is deducted from the subtotal. So, for example, a 20% deposit will be 20% of the subtotal of an individual. The deposit deadline is the last date that the deposit can be paid.
If you decide to NOT enter a deadline date, the invoice does not have to be paid by any certain date. Pending enrollments will stay on the teacher's schedule and will need to be manually deleted if the student decides not to re-enroll and does not pay the invoice.
From here you can also check the box to send the Private Lesson Enrollment email in this process. If you have discounts to apply, or want to check the invoices for accuracy, we advise that you DO NOT email your students at this time. You can email students later as detailed below.

3. Email Rolled Students
After you have checked the invoices and applied any invoices, fees or made other financial adjustments, go to the I Want to menu and select Email Rolled Students. The customer will then receive your email about the rolled lesson. The email will be sent to whomever is the primary account holder associated with the family account. This email will include basic information about the rolled lesson, as well as calls to action (pay deposit/make a change request/cancel lesson). Below, you can see an example of an email sent to the customer’s email address.
You can edit this email (though don't change anything within ##xxx## as that contains the recipients lesson details and costs) in Configure > Manage Emails > Manage My Email Templates > Private Lesson Enrollment - Edit.

4. Customer Receives Email & Pays Deposit
Once the customer receives the email, they can pay the deposit, if applicable, or go online and pay. There, they can also select a Payment Plan if you have set one up. This decision will usually be made by the customer if they are satisfied with the enrollment details, and they have no requested changes. To do this, they will click on this link labeled “Pay Deposit Now” or "Pay in Full" This will redirect them to the Invoice Payment page (InvoicePayment.aspx). On this page, they can make the payment of the deposit amount. They may also make a payment that is above the actual deposit amount (any amount to subtotal). Once the deposit payment is made, the student has officially secured a spot in the private lesson. The payment status changes from “unpaid” to “partial,” and the student is considered finished with the rolling process.

5. Customer Receives Email & Makes Change Request
Once the customer receives the email, they can request a change to the enrollment. This decision will usually be made by the customer if they are unsatisfied with the enrollment details, but they would like to keep the enrollment. To do this, they will click on this link labeled “Request Change.” This will redirect them to the Change Request page (ChangeEnrollRequest.aspx). On this page, they will be able to review the current enrollment details, as well as request a change. To request a change, the user will write details in the text area at the bottom of the page. This may include a requested change of instructor, location, schedule, subject or any other details. Once this information is complete, the user will choose to submit the request.
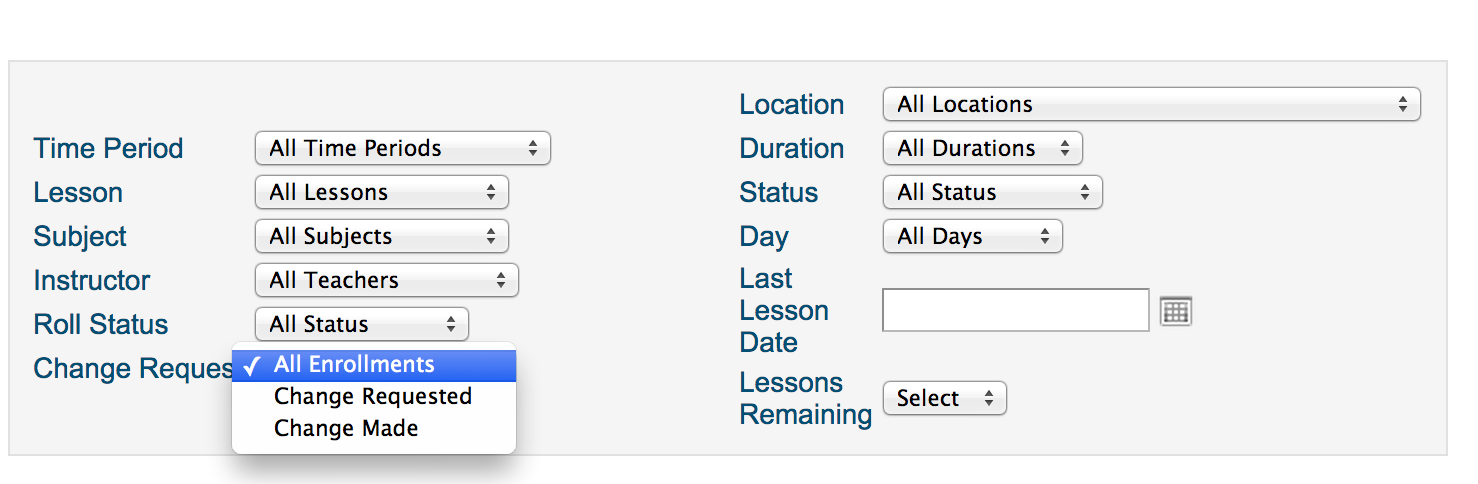
You can manage all your change requests on Private Lessons > Enrollments > Filter: Change Requests - Changes Requested

6. Customer Receives Email & Cancels Lesson
Once the customer receives the email, they can cancel the enrollment. To do this, they will click on this link labeled “Cancel Lesson.” This will redirect them to the Cancel Enrollment page (CancelEnrollment.aspx). On this page, they will need to confirm that they want to drop the enrollment. If they confirm, the enrollment will be dropped. The invoice will be cancelled as well, and their space will no longer be held for that lesson.

7. Customer Makes Change Request from Online Reg
The customer can make a “Change Request” at any time. To do this, the user will need to login to their account on the online registration site. Once they are logged in, they will go to the “Classes and Events” tab on their UserAccount page. From there, they can find any private lesson enrollments and click on the link labeled “Request a change.” This will redirect them to the Change Request page, where they can submit details about the changes they would like to make to the enrollment.

8. Managing Change Requests from Admin View
The administrator can view “change requests” at any time. To do this, go to Private Lessons > Enrollments, and then go to the “Change Request” drop-down. To review all change requests, select the “Change Requested” option.
From here, you can expand the enrollments (click on the arrow) to see the details. You may add in additional notes about the enrollment in the same text area, as well. These notes will appear on both the PLEnrollments and PrivateLessonDetail page (via the “Notes” tab). Once you have reviewed the change request, you may choose to edit the enrollment by clicking the “Edit” link. After your changes have been made, you may mark the status as “Change Made,” which can also be filtered for at any time.

9. Automatic Drop past Deadline
If the customer does not pay the deposit by the deadline, the enrollment will be automatically dropped and the lesson removed from the teacher's schedule. This means that the student no longer has a spot held for the enrollment, and they, and you, will need to go through the new lesson enrollment process again.