If a student is on a class waitlist and a space opens, the student is not automatically informed of the opening. It is up to your registration staff to contact the student and let them know space is available.
Best Practices
- Run the Class Summary report to track class capacity, enrollments, waitlists, and open slots.
- Whenever you drop or transfer a registrant, check if there is a waitlist. If so, contact students in the order they were added to the waitlist to inform them of openings.
- If you need to register on the Admin portal, use the following instructions.
Prerequisites
- Your organization is set up to allow waitlisting: Navigation menu > Set Up > Features > Classes > Preferences > Allow Waitlists = Yes
- Waitlisting is enabled for the class. This is handled during class creation, or afterwards on the class details page, under the Details tab.
Enroll through the Admin portal
- On the class details page, click the Roster tab.
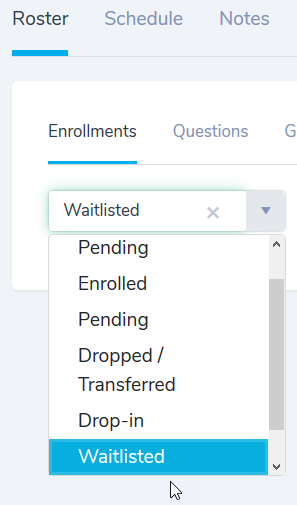
- On the Enrollments tab, in the enrollment status list, select Waitlisted.
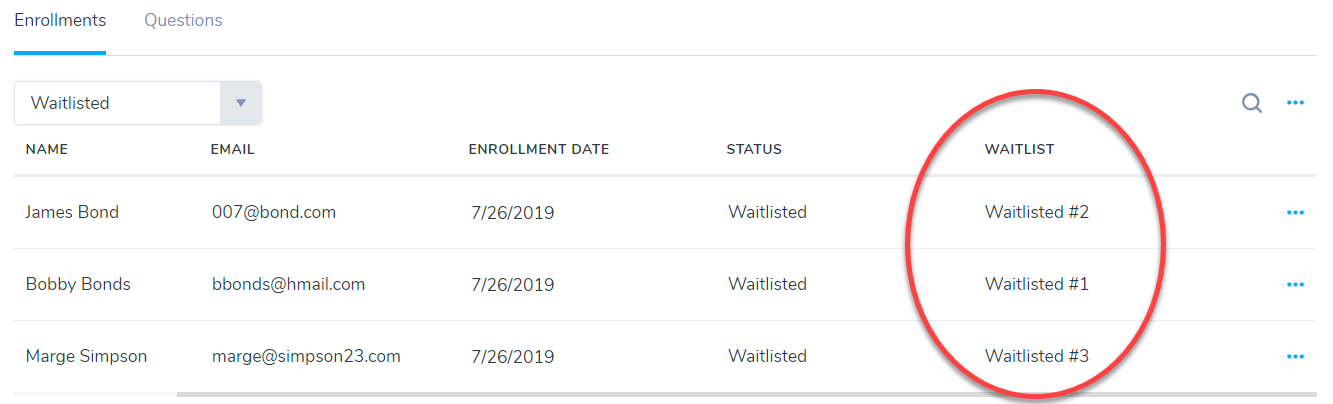
Notice the Waitlist column shows the order in which each student attempted to enroll.
- Select the student with the lowest waitlisted number and click the ellipsis.
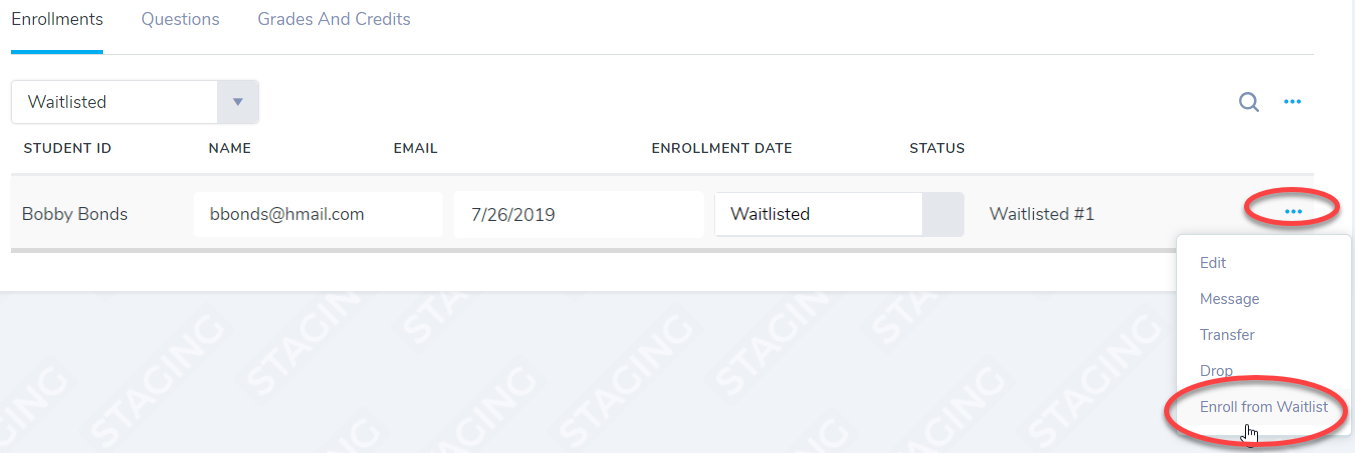
- Select Enroll from Waitlist.
- ASAP prompts you with a message about creating a new invoice. Select Yes to proceed.
NOTE: Selecting No cancels the enrollment process and the registrant remains on the waitlist.
ASAP saves your selection and enrolls the registrant in the class.