This video walks you through the simple process of setting up the Student Check in tool for Classes. If your account does not have Student Check in under the Tools menu, contact Support to have it added.
3m 14s
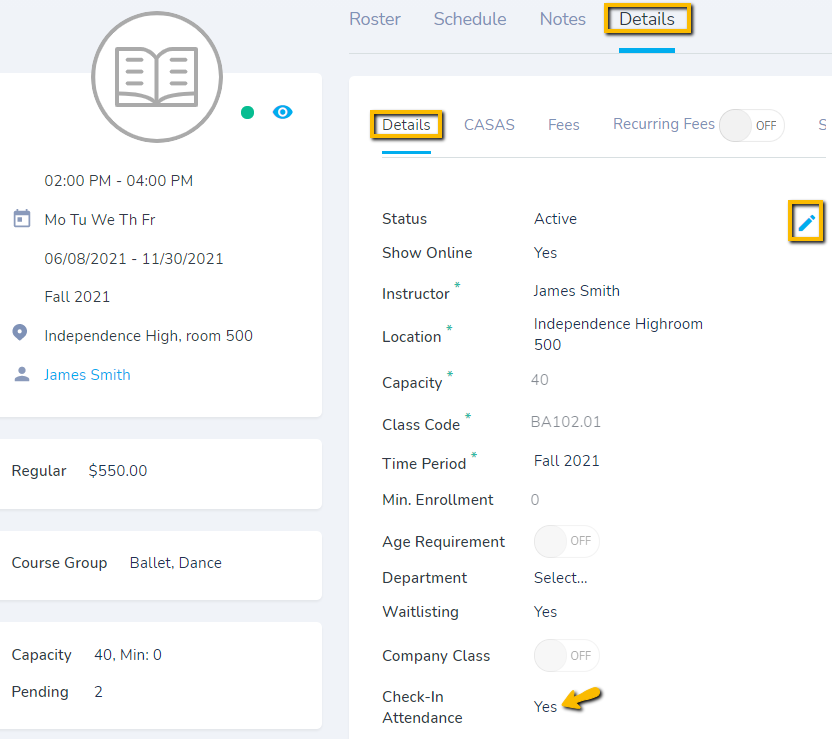
Step 1 - Make sure your class is configured to allow check-in attendance
When creating/editing a class, go through the Details tabs and click the pencil icon. Then tick the box for Check-in Attendance.
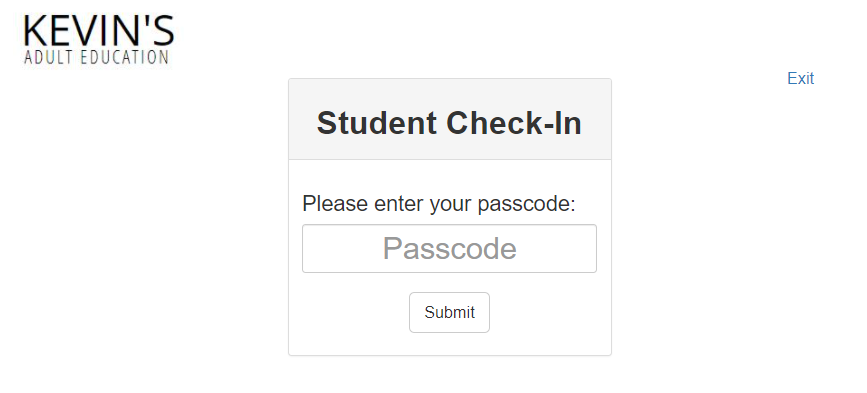
Step 2 - Go to Tools - Check-in: Kiosk
Now you can leave the computer or tablet out for students to check themselves in.
Students will have to enter their ASAP Student ID in to the "Passcode" field and click Submit. If they are enrolled in multiple classes that run around the same time, they will have to option to select the class they want to check in to. Students who check in but don't check out will automatically be checked out at the end-time of the class.